

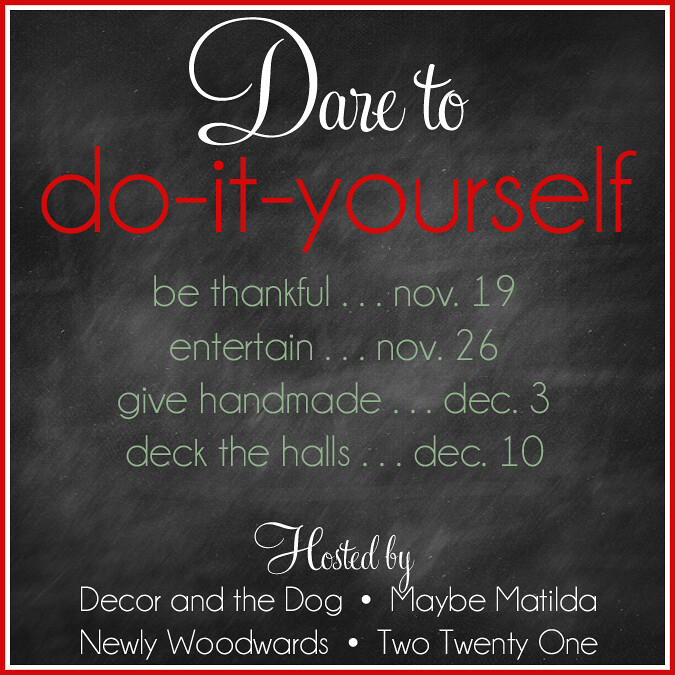
It's time for week 2 of the Dare to DIY!
Did you check out all the awesome entries for week one?
Week 2's party will officially post on Monday November 26th, but I'm a little ahead of the power curve and I can't wait to share!
The theme...Dare to... entertain!
"something for your table".
I have a beautiful dining room table.
My Dad helped my hubby make it and now for the first time in our 8 years of marriage we have a dining room table.
(We were college students for a long time and eating dinner on the go or on the coach suited us just fine)
I also have an adorable 1 year old daughter.
Taking that into consideration, I know that a table cloth is out of the question.
The next best thing is a table runner.
However, anything that hangs over the edge is begging for little fingers to grab hold.
Focusing on that I knew that my table runner needed to be 'child-proof'.
The concept I ran with was one I wasn't sure of and thus I decided to try it out on Christmas fabric.
Eh, if it didn't work Christmas decorations are only up for a month right!
Let's begin...
Here Is What You'll Need...
Fabric....
I did 1/2 a yard of each of my fabrics.
The prints were the tops and the solids were the bottoms.
Batting...
Approximately 1-1/2 yards.
You need a coordinating thread.
Sewing machine.
3 circle reference guides...
I used different baking bowls from my kitchen.
Patience...
LOTS and LOTS of patience!
First things first you'll want to trace out your circles onto each fabric and cut them out.
You can notice that mine aren't perfect, that's totally okay, I promise!
I did 3 circles from each fabric.
A large, medium, and small.
Next you'll want to cut out your bottom pieces.
This was a little tricker for me as I alternated the bottom fabrics to coordinate with particular top fabrics.
You don't have to be that complex, in fact if you want to use only 1 bottom color go for it!
I did draw out 4 extra, small circles from each bottom fabric to add a little more color to the overall runner.
Next you'll want to trace out the circles on your batting.
You only need one batting circle for every top and bottom piece.
Now, line everything up and take a pretty photo.
It helps!
I felt like I had reached a milestone when I got to this point.
Have fun picking out your fabrics.
If this is something you wrestle with, like I do, try to find a color palette that's simple.
I was happy to do Christmas because I knew that I liked Red, White, Dark and Lime green.
Okay, let's get down to business.
Each circle has 3 parts.
Line your top fabric up with your batting layer.
Now line your bottom up with your top.
You want your 'pretty sides' facing in.
Sew a 1/4" line around your circle...
Do not sew your circle closed.
You will want an opening large enough that you can turn your circle right side out.
I left about 3 fingers width and that was perfect.
Go around the edge of your circle and carefully cut notches, every 1/2" or so.
This will help your circle lay flat and have a nice clean edge.
Flip it inside out!
It looks like an ornament to me.
In fact if I wasn't using these small ones for the runner, I might have made a banner with them....
Hmm.... I might need to cut more small circles ;)
Sorry, let me get back on track.
Don't worry about that little notch sticking out.
You'll strategically place all your circles so those will get hidden.
Okay with 1 down you only have 23 more to go.
Good Luck!
Now that all your circles are sewn you can start laying them out.
Play around with your design.
Figure out what best suits your table size.
My table is fairly long as you can see.
It took me a few trial and errors to get what I wanted.
Don't forget you are layering these so that all those tails are hidden under another circle!
Are you ready to sew again?
This next part takes the most patience and a lot of brain power.
You'll want to plot which circles you will layer on and when.
Watch...
Go around your first circle (mine was one of the large ones from the end) and sew a 1/4" line.
Also I suggest you iron your circle before you begin sewing and again after you've added onto it.
This helps keep everything nice and flat.
Now, grab your next circle.
Layer it onto the first and sew your 1/4" line.
Once that is done I suggest you iron your two pieces flat.
Now slowly and carefully continue to add on to your runner.
I started at one end and worked to NEAR to the center.
Then I went to the other end and worked NEAR to the center.
Once I got to the center it was a bit more challenging to ensure all my tails were tucked in, but with a few carefully sewn lines you'll get everything nice and hidden.
Also, there will be some areas where you might have to double over a previously sewn line to accomplish a hidden tail.
Don't fret, just take your time and carefully sew as close to the previous line as possible.
I know where I did this, but I guarantee you others won't take notice of it.
And there you have it.
A completed, 'quilted', table runner.
*please excuse the edges that are still laying up a bit, I know that once they calm down they will lay flat.
Once you complete this task I highly suggest you do what I did.
Go for a walk and get some fresh air!
Sewing in circles is mind-numbing.
Go check out the Dare To DIY challenge...
Let me finish by wishing EVERYONE a very Happy Thanksgiving!
I hope you all take a moment to rest, relax, and relish all that we are blessed with.
Have a Blessed Thursday
Go check out the Dare To DIY challenge...
Let me finish by wishing EVERYONE a very Happy Thanksgiving!
I hope you all take a moment to rest, relax, and relish all that we are blessed with.
Have a Blessed Thursday


Oh my goodness that is a terrific runner. Love the idea with the circles, the fabric, the colors. WOW!
ReplyDeleteAdorable. It seems very Dr. Seuss to me and I love it. Thanks for joining the Dare to DIY this week!
ReplyDeleteI never thought of it like that before, but now I think I love it even more!
DeleteWhat's not to love about Dr. Suess....now I'm going to be thinking about the Grinch all day ;)
This turned out so awesome. I thought I already commented, but I guess not. I love the unique circle shapes and all the different fabrics. So super cute. You really brought it for this project. Super unique and creative.
ReplyDeleteTHanks so much for linking up to Dare to DIY!
Your table is beautiful, and the runner is so unique! I love it. You put a lot of work into it and it shows. Thanks for sharing!
ReplyDeleteStopping by from the DIY party...
Wow, that's such a cool, unique design! And the fabrics are so fresh and fun. Love it. And I totally see Dr. Seuss in it, too. Really fun! Thanks for joining in!
ReplyDeleteHow cute! Love this idea!
ReplyDeleteOh my goodness! This is fantastic! I love it! Thanks for popping by my blog the other day!
ReplyDeleteLove all the different fabrics! Such a fun design for a runner!
ReplyDeleteYour post was spotlighted today at NewlyWoodwards.
ReplyDelete