Did you check out all the awesome entries for week two?
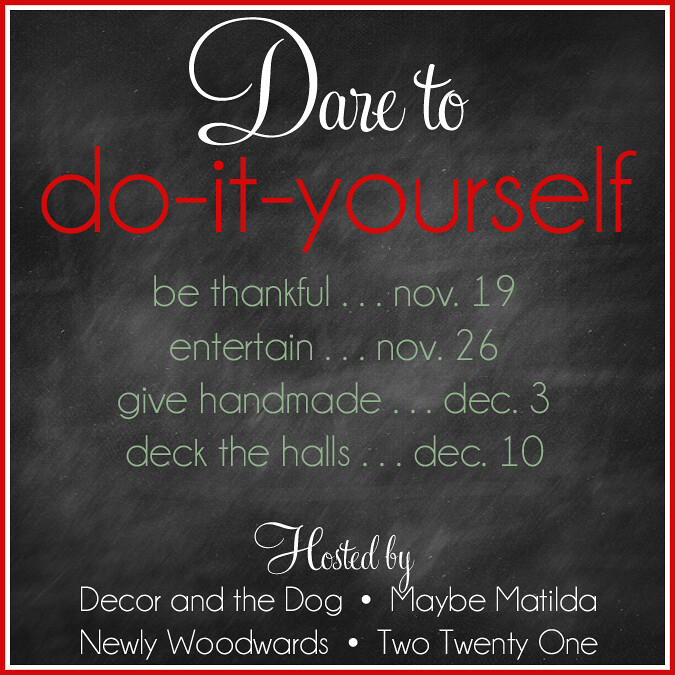
Week 3's party will officially post on Monday December 3rd, but as usual I can't wait to share!
The theme...Dare to... give homemade gifts!
"DIY a gift made by you".!
Recently a friend of mine had a birthday and I wanted to send her a little something.
Now that we have our daughter the budget looks a little different and gift giving has been scaled back a bit.
With that in mind I knew I could make something that she would love and not spend too much!
My friend is a teacher whose classroom is all owls this year.
My friend is a KSU graduate and FAN!
I got this one in the bag!
First things first I needed to make a pattern.
Don't be afraid of this, it's so much easier than you might think.
Pictured above are the 'tools' I used to make my pattern.
A piece of newspaper (always perfect for pattern making).
1 circular lid, 1 glass, and a piece of cardboard.
Now I just needed to create an owl.
I used the large lid as my starting point and created the outline of the body.
Next I used the glass to create the head portion of my owl and the cardboard to add ears.
No, the ears did not stay like that...I adjusted them after taking this picture.
The cardboard piece also helped outline the beak.
I used my lid to make the wings by tracing only the side to get my perfect arch.
Not pictured is the pill bottle I used to get the perfect size pupils.
In order for my eyes to fit on the head I traced a slightly smaller glass than the one pictured.
Now you can cut out all your paper pieces and you have a pattern, Voila!
I used sheets of felt for the eyes, pupils, and beak.
I outlined these to the exact size of my pattern.
Gray chalk is my go to for outlining...
Now it's time to cut fabric.
I actually traced this about a 1/4" larger than my pattern to give myself a seam allowance.
See how that gray chalk is so light.
It's just visible enough to cut and then it virtually disappears the more it's handled!
I cut a circle to go on the owls belly, this was a slight after thought and involved me finding another circle in my house that would fit decently within my owl itself.
I wanted to give it a little more body though so I added some interfacing.
This stuff is really easy to work with and here is my big secret!
Don't buy prepackaged interfacing, it's expensive for no other reason then the fact it's prepackaged.
Go to the counter and ask where they keep the bolts of interfacing.
I got 3x as much for the price of 1 package of this stuff!
I did interfacing on the belly and the wings, but only on the contrasting color...you'll see.
Now you get to place your belly on you owl.
Maybe I should have ironed that wrinkle out of my owl?
I had never attempted to applique prior to this project, but let me tell you it's not as difficult as you might think.
Also, it's okay if it's not perfect....your making a home made gift.
Sew a line around the edge of your circle, like pictured above.
Now change your settings on your machine to give yourself a zig zag stitch that is fairly close together.
Proceed to go over your initial line and just far enough to cover the edge.
Honestly, this might take a little fiddling around with so if you want to practice on a scrap piece first go ahead....no one is grading you on this ;)
Now we get to start building our face.
Place your beak and do the same process as you did with the belly.
Outline and then....
....Cover.
Place your eyes next.
I overlapped mine a bit to add dimension.
Outline.
Cover.
Lastly you'll place and 'attach' your pupils.
Have fun.
I have done a few of these now and the placement of your pupils can totally add to the character of the owl.
Here you can see the finished front.
Now let us focus on the wings.
Place pretty sides together.
The contrasting color has the interfacing.
Stitch a 1/4" seam along wing leaving an opening at the point where it will be attached to the body.
Carefully go around the edge and cut slits in your fabric.
This little tric will help the fabric lay better and hold a better shape overall.
Now flip that wing right side out and iron it flat.
Once both of the wings are done you can place them on your own just so.
I suggest pinning them at least once with a safety pin so that they hold their spot while you are sewing.
Now place the owls back on top.
All your pretty parts are now inside and you can sew your buddy up.
Sew a 1/4" stitch around the owl leaving an approximate 2" opening at the bottom for turning him right side out.
Now stuff stuff stuff!
I was surprised at home much stuffing was needed to really make this guy look good, but it's totally worth it.
Do you see the opening at the bottom there?
This was honestly the part I was most worried about when I started!
But I found a great tutorial
here.
Not to bad for my first invisible stitch.
Now guess what....
Your done.
This is the owl I gave my KSU loving, Owl themed classroom teaching friend.
The verdict?
She loved it!
Here is another beauty I made for a raffle at Bud's work.
I also made a few others for my younger cousins.
I was fortunate enough to have fabric left from the quilts I had made each of them, so their owls match their quilts.
Ultimately, the goal here is to show you that anyone can make a home made gift.
Take your time.
And Enjoy the process.
Also, let me tell you that if pattern making is not for you, there are a lot of free patterns out there on the internet so take your pick :)
And if you want an owl all your own feel free to stop by my
Etsy shop!
I would love to coordinate a color scheme that would work just for you!
Also, from now thru December 15th if you order an owl use the code DARETODIY and get 15% off!
Now go check out the DIY challenge and see what other people are making!
Get inspired!
I hope you have a Blessed Thursday!
Pssst! Don't forget to enter the
Woolzies Giveaway!
I'll be announcing a winner December 5th!




 Posts
Posts


