about family god read it make it contact me
Showing posts with label Make It. Show all posts

Monday, February 18, 2013

Mashed Taters in the Crockpot

Good Morning!
How has everyone been doing with 'Be Flexible'?
Did anything happen this past weekend that you threw caution to the wind and opted for spontaneity instead?
There is still plenty of time to work on this weeks challenge.
In the mean time let me show you how to make one of the ultimate comfort foods.

Here is What You'll Need:

- 5 lbs of cubed Russet Potatoes
- 1/3 cup warm milk
- 1 teaspoon salt
- 1/4 teaspoon ground pepper
- 1-1/4 cup sour cream
- 2 oz of cream cheese
- 1 stick of butter cut into small cubes
- 1 garlic clove minced
- not pictured - 1-1/2 cups chicken broth
Place your peeled/cubed potatoes into crock pot.
(remember to spray non-stick spray for easy clean-up later).
Add broth and butter and cook on high for 4-5 hours.
Now mash your potatoes!
Add remaining ingredients and continue mashing.

Serve up your warm, yummy mashed potatoes!
This made a LOT of mashed potatoes so I divided my recipe in half and froze the 2nd half for another day!

I hope you all are staying warm.
We had 65º weather on Friday and then SNOW on Saturday.
Brrr!
Not cool NC, not cool ;)

Have a blessed Monday!


Thursday, February 14, 2013

Valentine's Day Banner

It's really convenient when a holiday falls on my craft post day, because then I get to share what I've been up to lately!
We don't really celebrate Valentine's day in our house.
That being said I don't mind decorating a little bit for it.
This year I made a pretty Valentine's day Banner that anyone can whip up in less than half an hour!
You'll need 2 sheets of felt.
I chose red and pink.
Cut the sheets in half.
Line up the edges.
Sew them together.  
I did a 1/4" seam allowance, but you can do more if you like.
Now fold the felt over itself, line up your edges....
and sew again.
See how the first sewn portion forms the inner part of the heart?
Now create your pattern.
I opted to use pom poms.
Taking a needle and thread begin to pierce through each heart.
I liked to pierce the side, the center and the other side.
The pierce each pom pom.
Continue until all your hearts and poms are strung up.
Then hang!
It was just the perfect filler for that empty space this month.
I'm curious to see if I could make smaller hearts and turn them into 4 leave clovers for next month.
Hmmm....the wheels are turning, I guess we'll just have to see if the concept reaches fruition!

I hope you have a Blessed Thursday and a Happy Valentine's Day!

Tuesday, February 12, 2013

Reese's Pie

I have a taste treat for anyone who needs a Valentine's Day sweet!

Here is What You'll Need:
- 1 chocolate cookie pie crust
- large box of instant chocolate pudding
- 1-1/2 cups of milk
- 8 oz tub of cool whip
- 15 Reese's Peanut Butter Cups!

In a large bowl mix the pudding and milk.
Whisk in the cool whip.
Unwrap Peanut Butter Cups and cut into bite size pieces.
Fold Peanut Butter Cups into the pudding mix.
Spoon mixture into cookie crust.
Freeze for at least 3 hours.
Remove from freezer 15 minutes before serving.

Satisfy your sweet tooth with a little bit of peanut butter and chocolate goodness!

I hope you all have a Blessed Tuesday!


Monday, February 11, 2013

Parmesan Meatloaf

I'm back.
Again.
Where have the days gone?
Are we seriously almost half way thru the month of February?
Today I'm going to share one of my favorite recipes!
Lately when have company over for dinner OR when someone we know has a baby, I make either my Chicken Enchiladas or this.... Parmesan Meatloaf!

Here Is What You'll Need:  
- 2 lbs hamburger
- 2 eggs
- 1/4 cup bread crumbs
- 1/2 teaspoon basil, thyme, and oregano
- 2 cloves minced garlic
-1 small onion finely chopped
- 1/2 teaspoon of salt
- 1/4 teaspoon black pepper
- 1/2 cup grated parmesan cheese
- 1/2 pasta sauce
- 1/2 cup shredded italian cheese blend


Preheat oven to 350º
Lightly grease a loaf pan.
In a large bowl, add beef, eggs, breadcrumbs, thyme, oregano, basil, garlic, onion, salt & pepper, and parmesan cheese.
Gently mix ingredients with your hands.
Don't over handle.
Place in greased pan.
Top with pasta sauce.

Bake for an hour.
Remove from oven and sprinkle remaining cheese on top.
Place back in the oven for 5-10 minutes or until cheese is melted.
Remove a 2nd time and allow to set for 5-10 minutes before slicing and serving.

Yet again I failed to get a finished photo....we scarfed it all down too fast!
I think most of you know what Meatloaf looks like so I'm not too concerned....but if not, shoot me a message and the next time I make this (which will be soon) I'll be sure to take a final picture!

I hope you had a Blessed Monday!

Tuesday, December 11, 2012

Pecan Pie

I know that Thanksgiving was a few weeks ago, but Christmas is only 2 weeks away and maybe just maybe you make pie for Christmas too?
I love Pecan Pie.
LOVE LOVE LOVE it.
And prior to this year I had a very hard time getting it to set right.
Today I am going to share a recipe that worked!

Here Is What You'll Need:
- 3 eggs
- 1 cup sugar
- 1/2 cup light corn syrup
- 3/4 stick margarine, melted
- 1 cup chopped pecans (I used pecan pieces, I like that better)
- 1 unbaked pie shell

DO NOT PREHEAT...
In a bowl, beat your eggs.
Mix in your sugar.
Then add the corn syrup and butter.
And finally the pecans.
Mix well.
Pour into your pie shell.
Place your pie into a cold oven.
Turn oven to 300º and bake for 1 hour.

Where is the after picture you ask?
I ATE IT!
All of it, Bwahahahaha!
Okay maybe I didn't eat it all, our friends helped, but let's just say I was over eager to dig in and forgot to get a final picture.

Do you make pie for Christmas dinner?
If not, what is the Christmas dessert?

I hope you have a Blessed Tuesday!

Monday, December 10, 2012

Baked Parm Spaghetti

Being a Mom is a hard gig!
Everyone knows that Mom does more than just mother.
We are nurses, teachers, activity coordinators, chauffeurs, housekeepers, and of course 5 star chefs!
Okay maybe not 5 star chefs, but we do have to keep the menu changing to please our clientele, at least until they are old enough to understand that what we give them is what they will be eating.
My little food critique is a special case.
The girl doesn't and has never allowed us to spoon or fork feed her.
No baby food in this house.
She went straight from milk to finger foods.
After a while meal prep for a toddler becomes a game of "What can she feed herself vs. what will she eat".
This dinner was a first for all parties and well....let's see how it turned out:   
First things first coordinate dinner with your little person ;)
Okay maybe not really, but doesn't she look a little skeptical of the menu?

Here Is What You'll Need:
- 3/4 of a box of thin spaghetti
-2 cups pasta sauce
- 1 tablespoon olive oil
1/2 cup freshly grated parmesan cheese
- 1 cup shredded mozzarella cheese
- 1 tablespoon basil leaves chopped
- salt and pepper to taste
-1 lb ground beef
-1/2 onion chopped
-3 cloves minced garlic

Preheat your oven to 350º
Cook spaghetti according to package
Chop your onion.
Add olive oil to a skillet set to medium heat
saute onion, salt, and pepper for approximately 5 minutes.
Add your garlic and stir for another minute.
Now add your beef, break it apart and brown it up nicely.
Stir in 1/2 of your pasta sauce...
and 1/2 of your basil.
Mix well.
Remember that pasta that you were cooking...it's up!
Toss in pasta.
Spray a baking dish with non-stick spray.
Add 1/2 of the spaghetti mix, top with 1/2 cup pasta sauce, and 1/2 of each cheese.
Repeat.
Look at all that CHEESE!
Bake for 20 minutes.
It should look a little like this when it's done.
Now for the taste test....
Despite her look of skepticism, the pasta sauce all over her face is proof that she likes it!
She actually loved it.
I'm guessing it has something to do with the mozzarella, but it really doesn't matter the reason :) 

The joys of feeding a toddler are never ending...
well at least until they are older.
But it's fun to watch them try new things and experience new flavors.
What are some of your little ones favorite finger foods?
Bitsy loves hot dogs, scrambled eggs, orange slices, and pepperoni!

I hope you have a Blessed Monday!  

Thursday, December 6, 2012

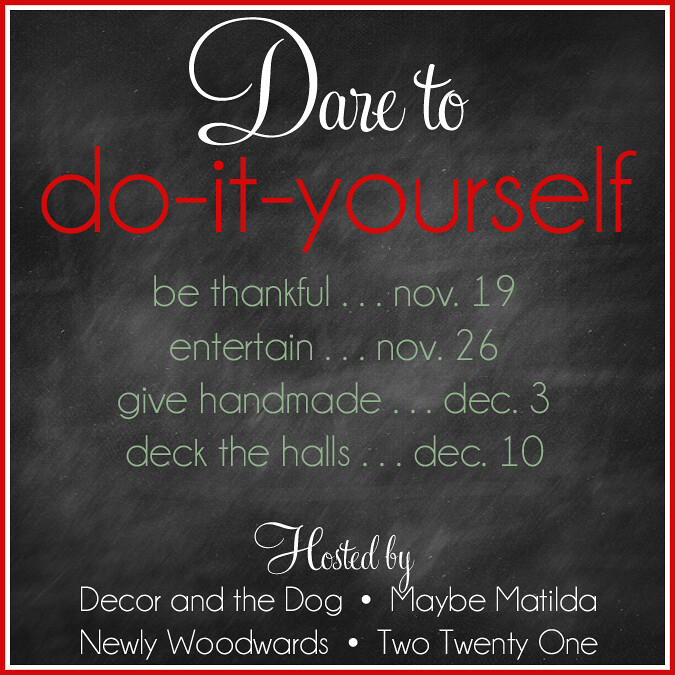
Dare to… deck the halls!

It's time for week 4 of the Dare to DIY!
Did you check out all the awesome entries for week three?
If not go visit KimMichelleRachel, or Chelsea's blogs to see all the creativity!


Week 4's party will officially post on Monday December 10th
This is the last week to link up to this awesome challenge, so if you haven't linked up yet, get some crafting in this weekend!!!
The theme...Dare to... deck the halls!
"..something new to deck your halls".!

Some of you may have stopped by my Etsy Store last week to check out Hoot the Owl.
(Pssst....I'm still offering a 15% discount on any owls ordered between now and the 15th, just use the code DARETODIY)
While you were there you may have noticed I have a few wreaths up for sale too...
One thing I specialize in is taking a photo of a wreath sent to me by customers and creating it for them.
The following is a tutorial on how I created the "Ho Ho Ho Wreath' for a customer.

Here Is What You'll Need:
-1 wreath form, 18"
- 1/4 yd black burlap
- 3 yds red burlap
- 1 sheet of silver foam board
- 3 wooden 'h's
- 3 wooden 'o's
(Optional cutting board, ruler, and rotary blade...you may choose to hand cut your strips, but I promise this is MUCH faster)
Line your burlap up to the best of your ability.
Burlap is messy so be prepared to vacuum when you finish.
Proceed to cut a bajillion 1x8" (or close) strips of fabric.
I was able to get pieces out of each 1" strip I cut.
This is what you have to work with now.
Proceed to tie each strip to your wreath form.
No need to double knot, burlap is good at holding itself in place.
Now keep tying until your wreath is full and fluffy.
Like so.
Once I'm done tying knots I like to pick my wreath up and give it a good shake.
Like a tambourine.
It helps knock off the loose bits.
Now hang it on your door and admire your hard work.
Your thumbs might be sore....
Now it's time for the belt.
Take your black burlap and cut it to measure 4"wide.
Then fold it in half and iron it so that it's 2" wide.
We will trim down length in a minute.
Take your silver foam board and cut 4" off.
Then square it off, so that you have a 4x4" square.
Measure up and over 1"  from each side and cut a 2" slit.
Feed your 2" wide belt through your 2" wide opening.
Wrap your belt around your wreath to measure exactly how wide you should make your belt.
Sew your ends together and trim off any excess.
Then you can wriggle your belt onto your wreath
It might be a tight fit, but you want it to stay.
If it's too loose, go back and tighten it with a new sewn line..
IF you don't sew...you could HOT GLUE this as well.
Now let's finish this...
paint your 'h's and 'o's white.
Allow them to dry.
Now hot glue them right onto the burlap.
Ta Da!
A Ho Ho Ho Wreath for our front door.

Rag wreaths of any variety are an easy way to decorate your front door.
If you are curious about other holiday wreaths check out my other posts here, here, here, and here!

I hope everyone has been inspired by this wonderful challenge!
Now go check out the DIY challenge and see what other people are making!
Get inspired!

I hope you have a Blessed Thursday!